Amazon Elastic Container Registry (ECR)
1. Tutorial
1.1 Create a Docker Image
index.html
cat <<EOF > index.html
<!DOCTYPE html>
<html lang="en">
<head>
    <meta charset="UTF-8">
    <title>Hello World - Nginx Docker</title>
</head>
<body>
    <h1>
        Hello World
    </h1>
</body>
</html>
EOF
nginx config
cat <<EOF > hello-nginx.conf
server {
    listen 80;

    root /usr/share/nginx/html;
    try_files /index.html =404;

    expires -1;

    sub_filter_once off;
    sub_filter 'server_hostname' '$hostname';
    sub_filter 'server_address' '$server_addr:$server_port';
    sub_filter 'server_url' '$request_uri';
    sub_filter 'server_date' '$time_local';
    sub_filter 'request_id' '$request_id';
}
EOF
Dockerfile
cat <<EOF > Dockerfile
FROM nginx:mainline-alpine
RUN rm /etc/nginx/conf.d/*
ADD hello-nginx.conf /etc/nginx/conf.d/
ADD index.html /usr/share/nginx/html/
EOF
Running Docker
$ docker build -t hello-nginx .
$ docker run -d --name hello-nginx -p 8080:80 -t hello-nginx
이후 localhost:8080 으로 접속해서 확인
1.2 Create User for ECR
먼저 좌측 메뉴에서 IAM User -> Access Management -> Users 선택후 Add User 버튼으로 새로운 유저를 생성합니다.
권한은 다음이 필요합니다.
AWSAppRunnerServicePolicyForECRAccess- AmazonEC2ContainerRegistryFullAccess
- AmazonEKSClusterPolicy (EKS시에 필요)
이후 configure 시에 다음과 같이 하면 됩니다.
특히 Jenkins 등에서 자동으로 빌드할 경우 사용할 수 있습니다.
$ sudo apt install awscli
$ aws configure
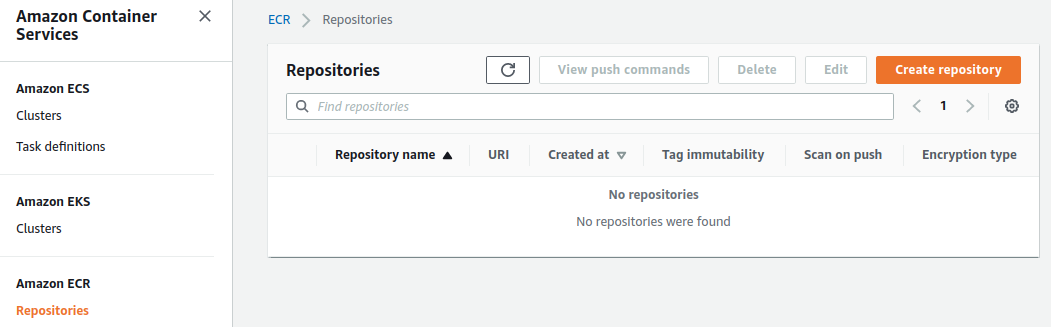
1.3 Create ECR Repository
Amazon ECR 메뉴에서 Create Repository를 누릅니다.
생성시에 몇가지 옵션이 있는데 다음과 같습니다.
- Tag Immutability: 활성화시 image tags가 push 명령어에 의해서 overwrite 되지 않도록 막습니다. (하는게 좋음)
- Scan on Push: 활성화시 image가 push될때 자동으로 scan하도록 합니다. (이거 안하면 수동으로 스캔해줘야함 -> 하는게 좋음)
생성하고 나면 중요한 점이 URI가 보이게 됩니다.

URI: 212094568179.dkr.ecr.us-east-2.amazonaws.com/test
- 212094568179: AWS Account ID
- us-east-2: Region
- /test: Repository 이름
1.4 Authenticate to ECR Registry
Amazon ECR로 docker push 또는 docker pull 을 하기 위해서는 Authentication이 필요합니다.
Docker가 Amazon ECR로 authentication하기 위해서 AWS CLI의 get-login-password 명령어를 사용할수 있습니다.
$ aws ecr get-login-password --region {region} | docker login --username AWS --password-stdin {aws_account_id}.dkr.ecr.{region}.amazonaws.com--password-stdin: 1.2에서 봤던 URI에서 repository 이름만 빼고 넣으면 쉽게 해결
예를 들어서 다음과 같이 authentication할 수 있습니다.
$ aws ecr get-login-password --region us-east-2 | docker login --username AWS --password-stdin 212094568179.dkr.ecr.us-east-2.amazonaws.com1.5 Push & Pull an image to Amazon ECR
Image tag 부터 만들어준 후, Push명령어를 합니다.
$ docker tag hello-nginx:latest 212094568179.dkr.ecr.us-east-2.amazonaws.com/test:v0.0.1
$ docker push 212094568179.dkr.ecr.us-east-2.amazonaws.com/test:v0.0.1
Amazon ECR 에서 다음과 같이 잘 올라간 것을 확인 할 수 있습니다.

Pull은 다음과 같이 합니다.
$ docker pull 212094568179.dkr.ecr.us-east-2.amazonaws.com/test:v0.0.1